pueblos lesson
The following is a lesson on Native American Pueblos. Every project is a success! Students use chalk pastels as the main medium.
Scroll down to find:
Scroll down to find:
- examples of Adobe Pueblos house images
- step-by-step instructions with pictures of the project
- a lesson plan (including California State Visual Art Standards)
|
pueblo
- Pueblos are Native American communities located in Southwest United States - built of stone, adobe mud, + othe local materials - multi-storied building surrounded by a plaza - lowering ladders made rooms accessable + protected them from unwanted guests + break-ins - "pueblo" a Spanish word for "village" or "town" from Wikipedia |

Native American Pueblo Adobe houses
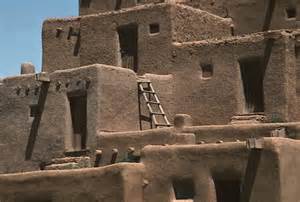
Taos Pueblo New Mexico
|
step-by-step, easy to follow. instructions
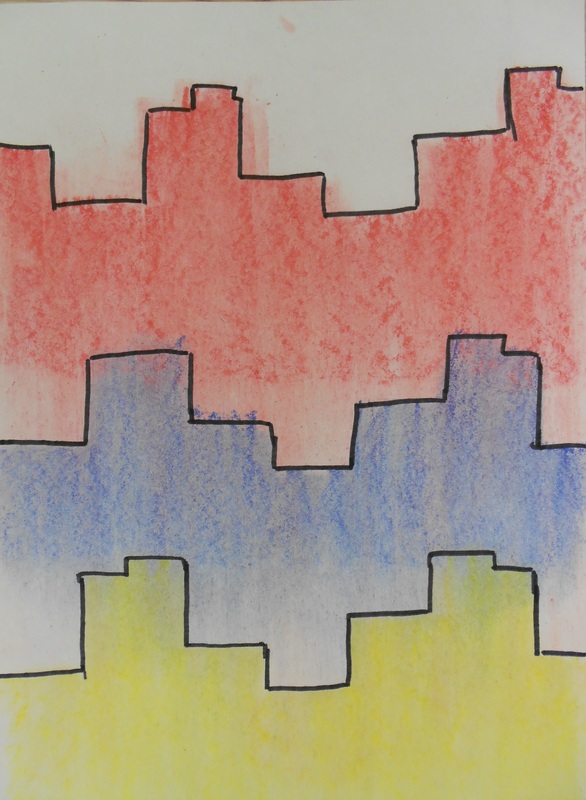
Students, teachers, + parents can follow these easy step-by-step instructions to create a successful art project. Pueblos are angular, using many rectangular shapes.
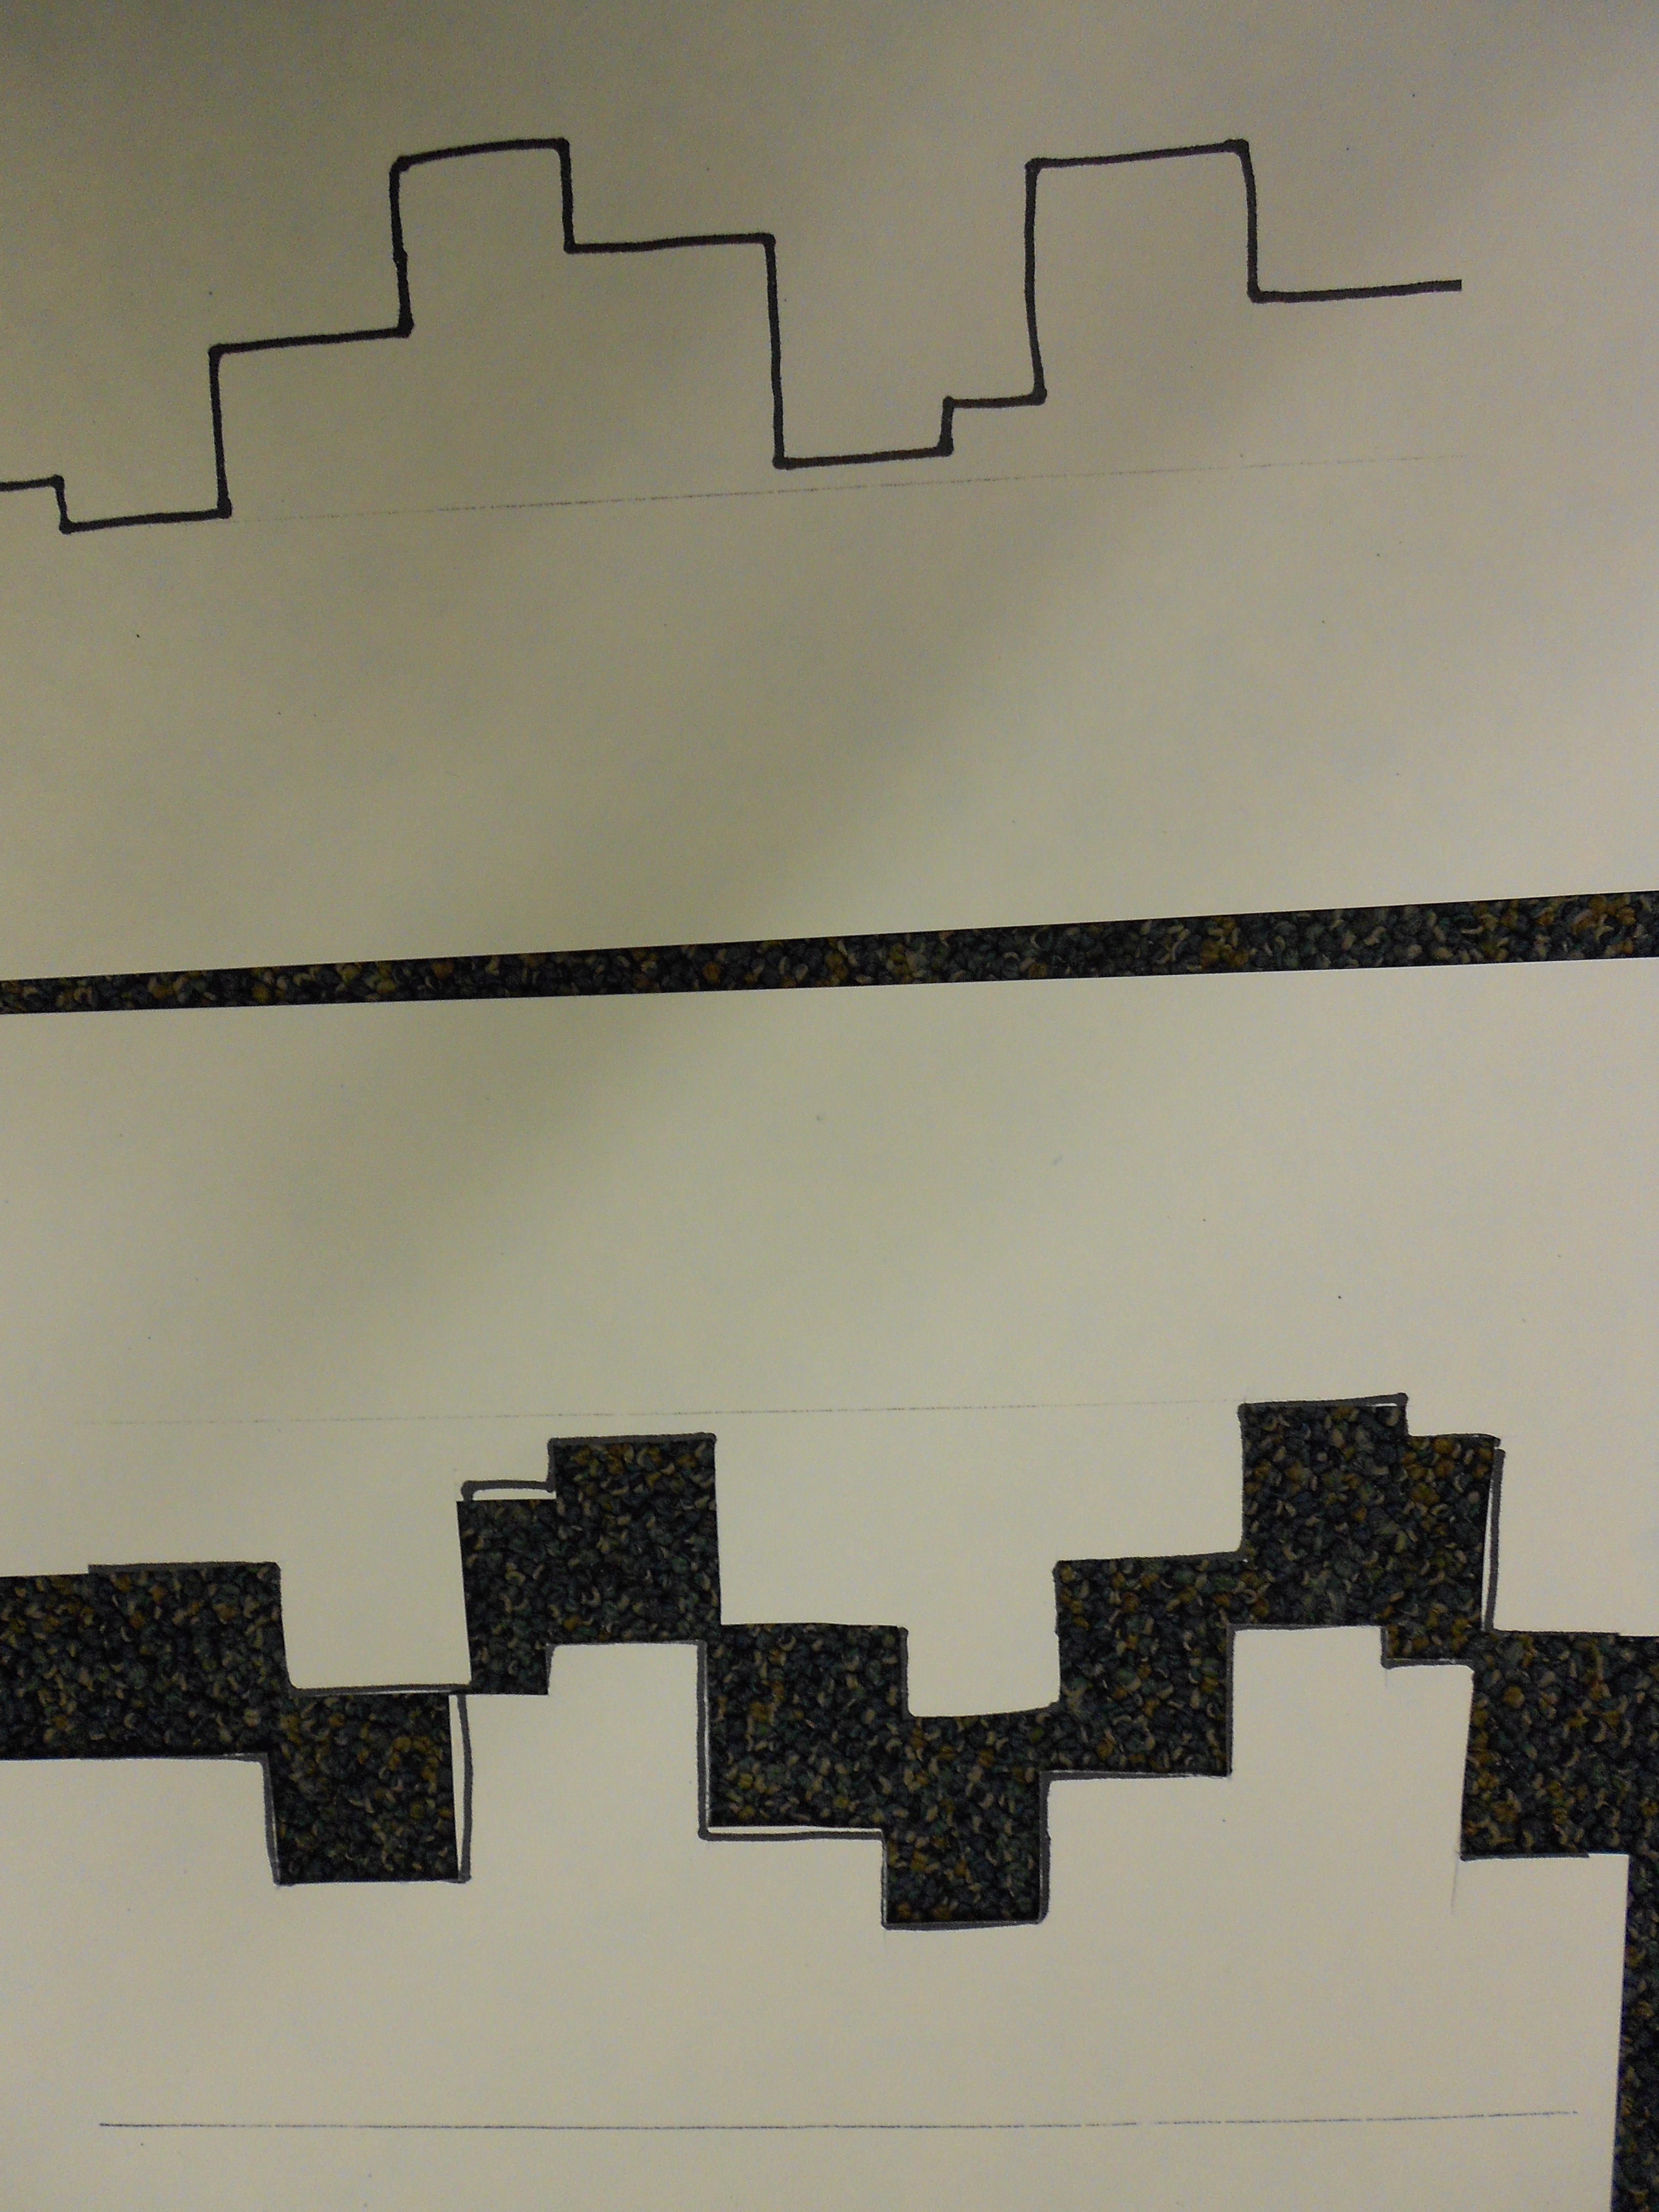
1. cut a template using tag-board - have pre-drawn copies
|
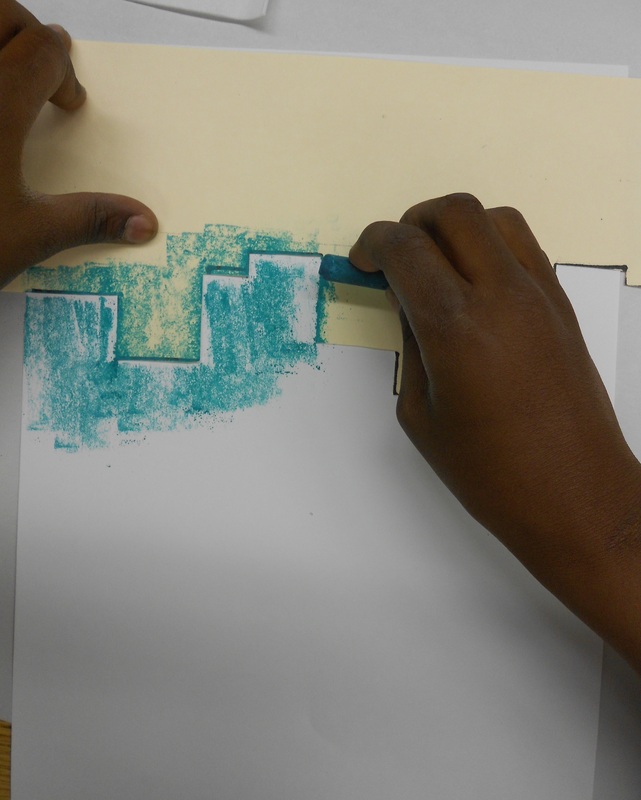
2. hold template securely- rub downward with 1st color pastel
|
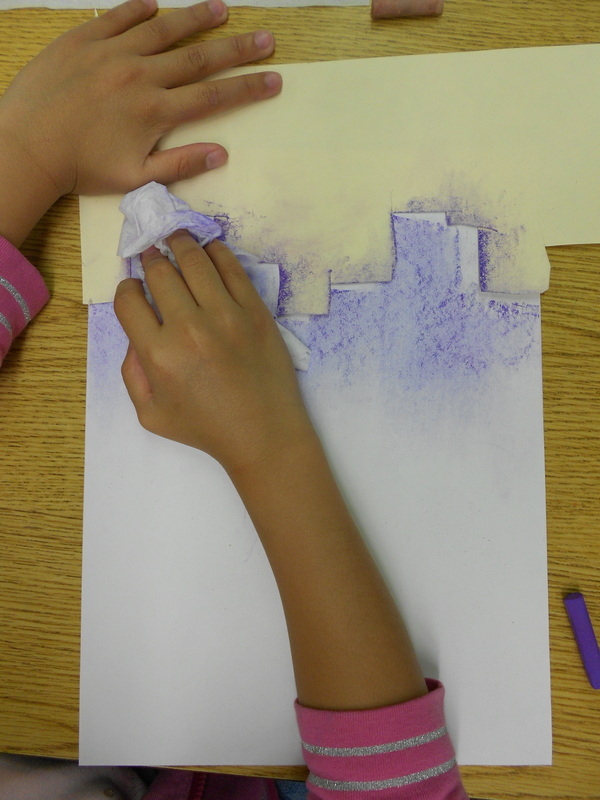
3. rub downward with tissue -hold template in place
|
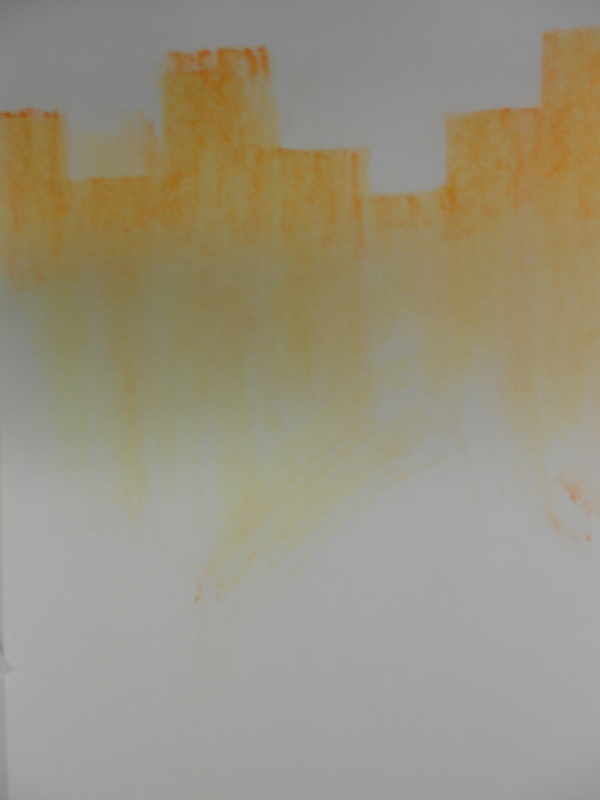
4. 1st level of pueblos
|
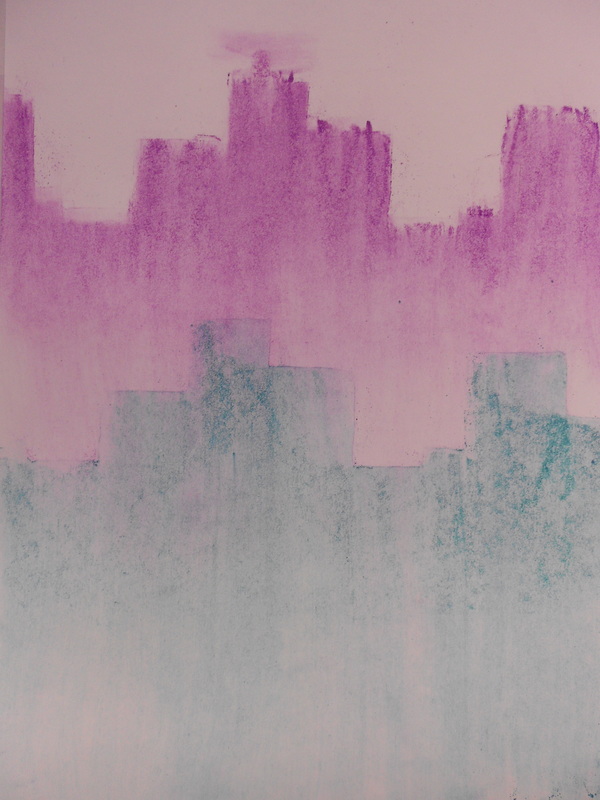
5. move template down + do steps 1+2 with a different color
|
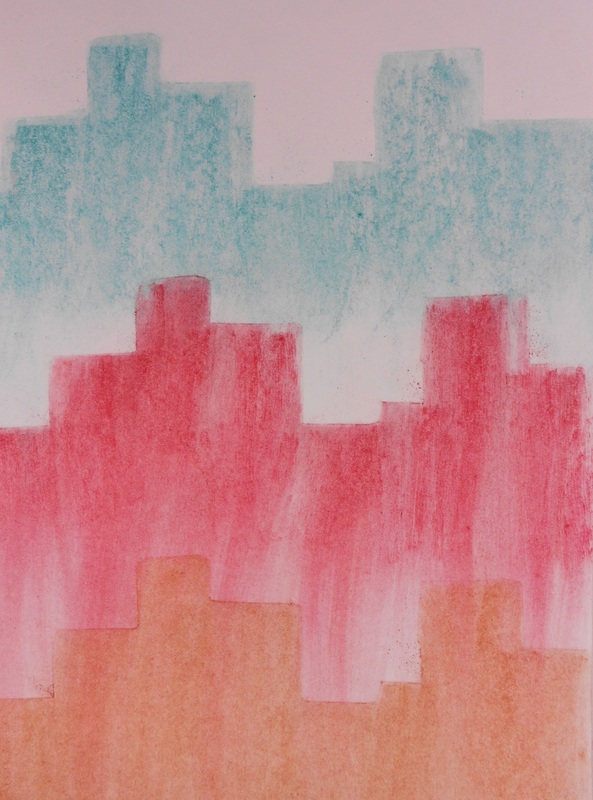
6. move template down - repeat steps 1+2 using another color
|
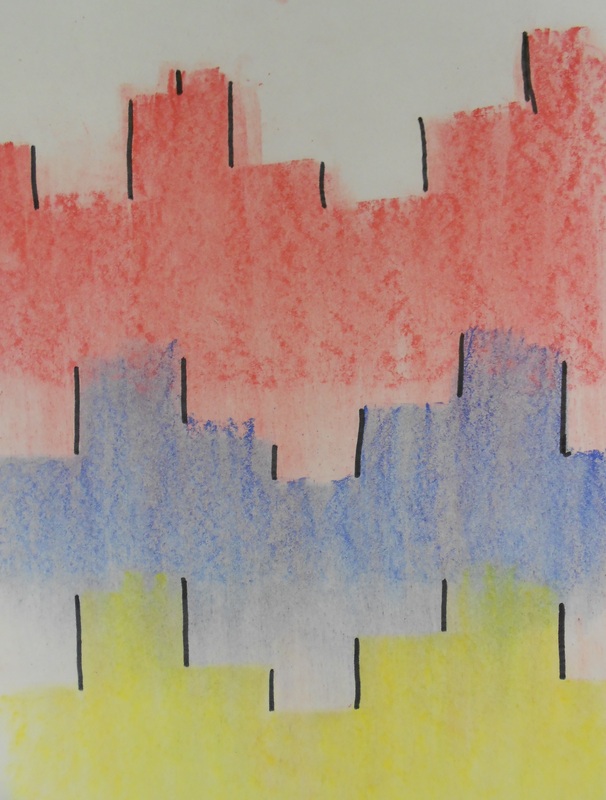
7. using blk marker - draw vertical edges of buildings
|
8. draw blk horizontal edges of rooftops on each level
|
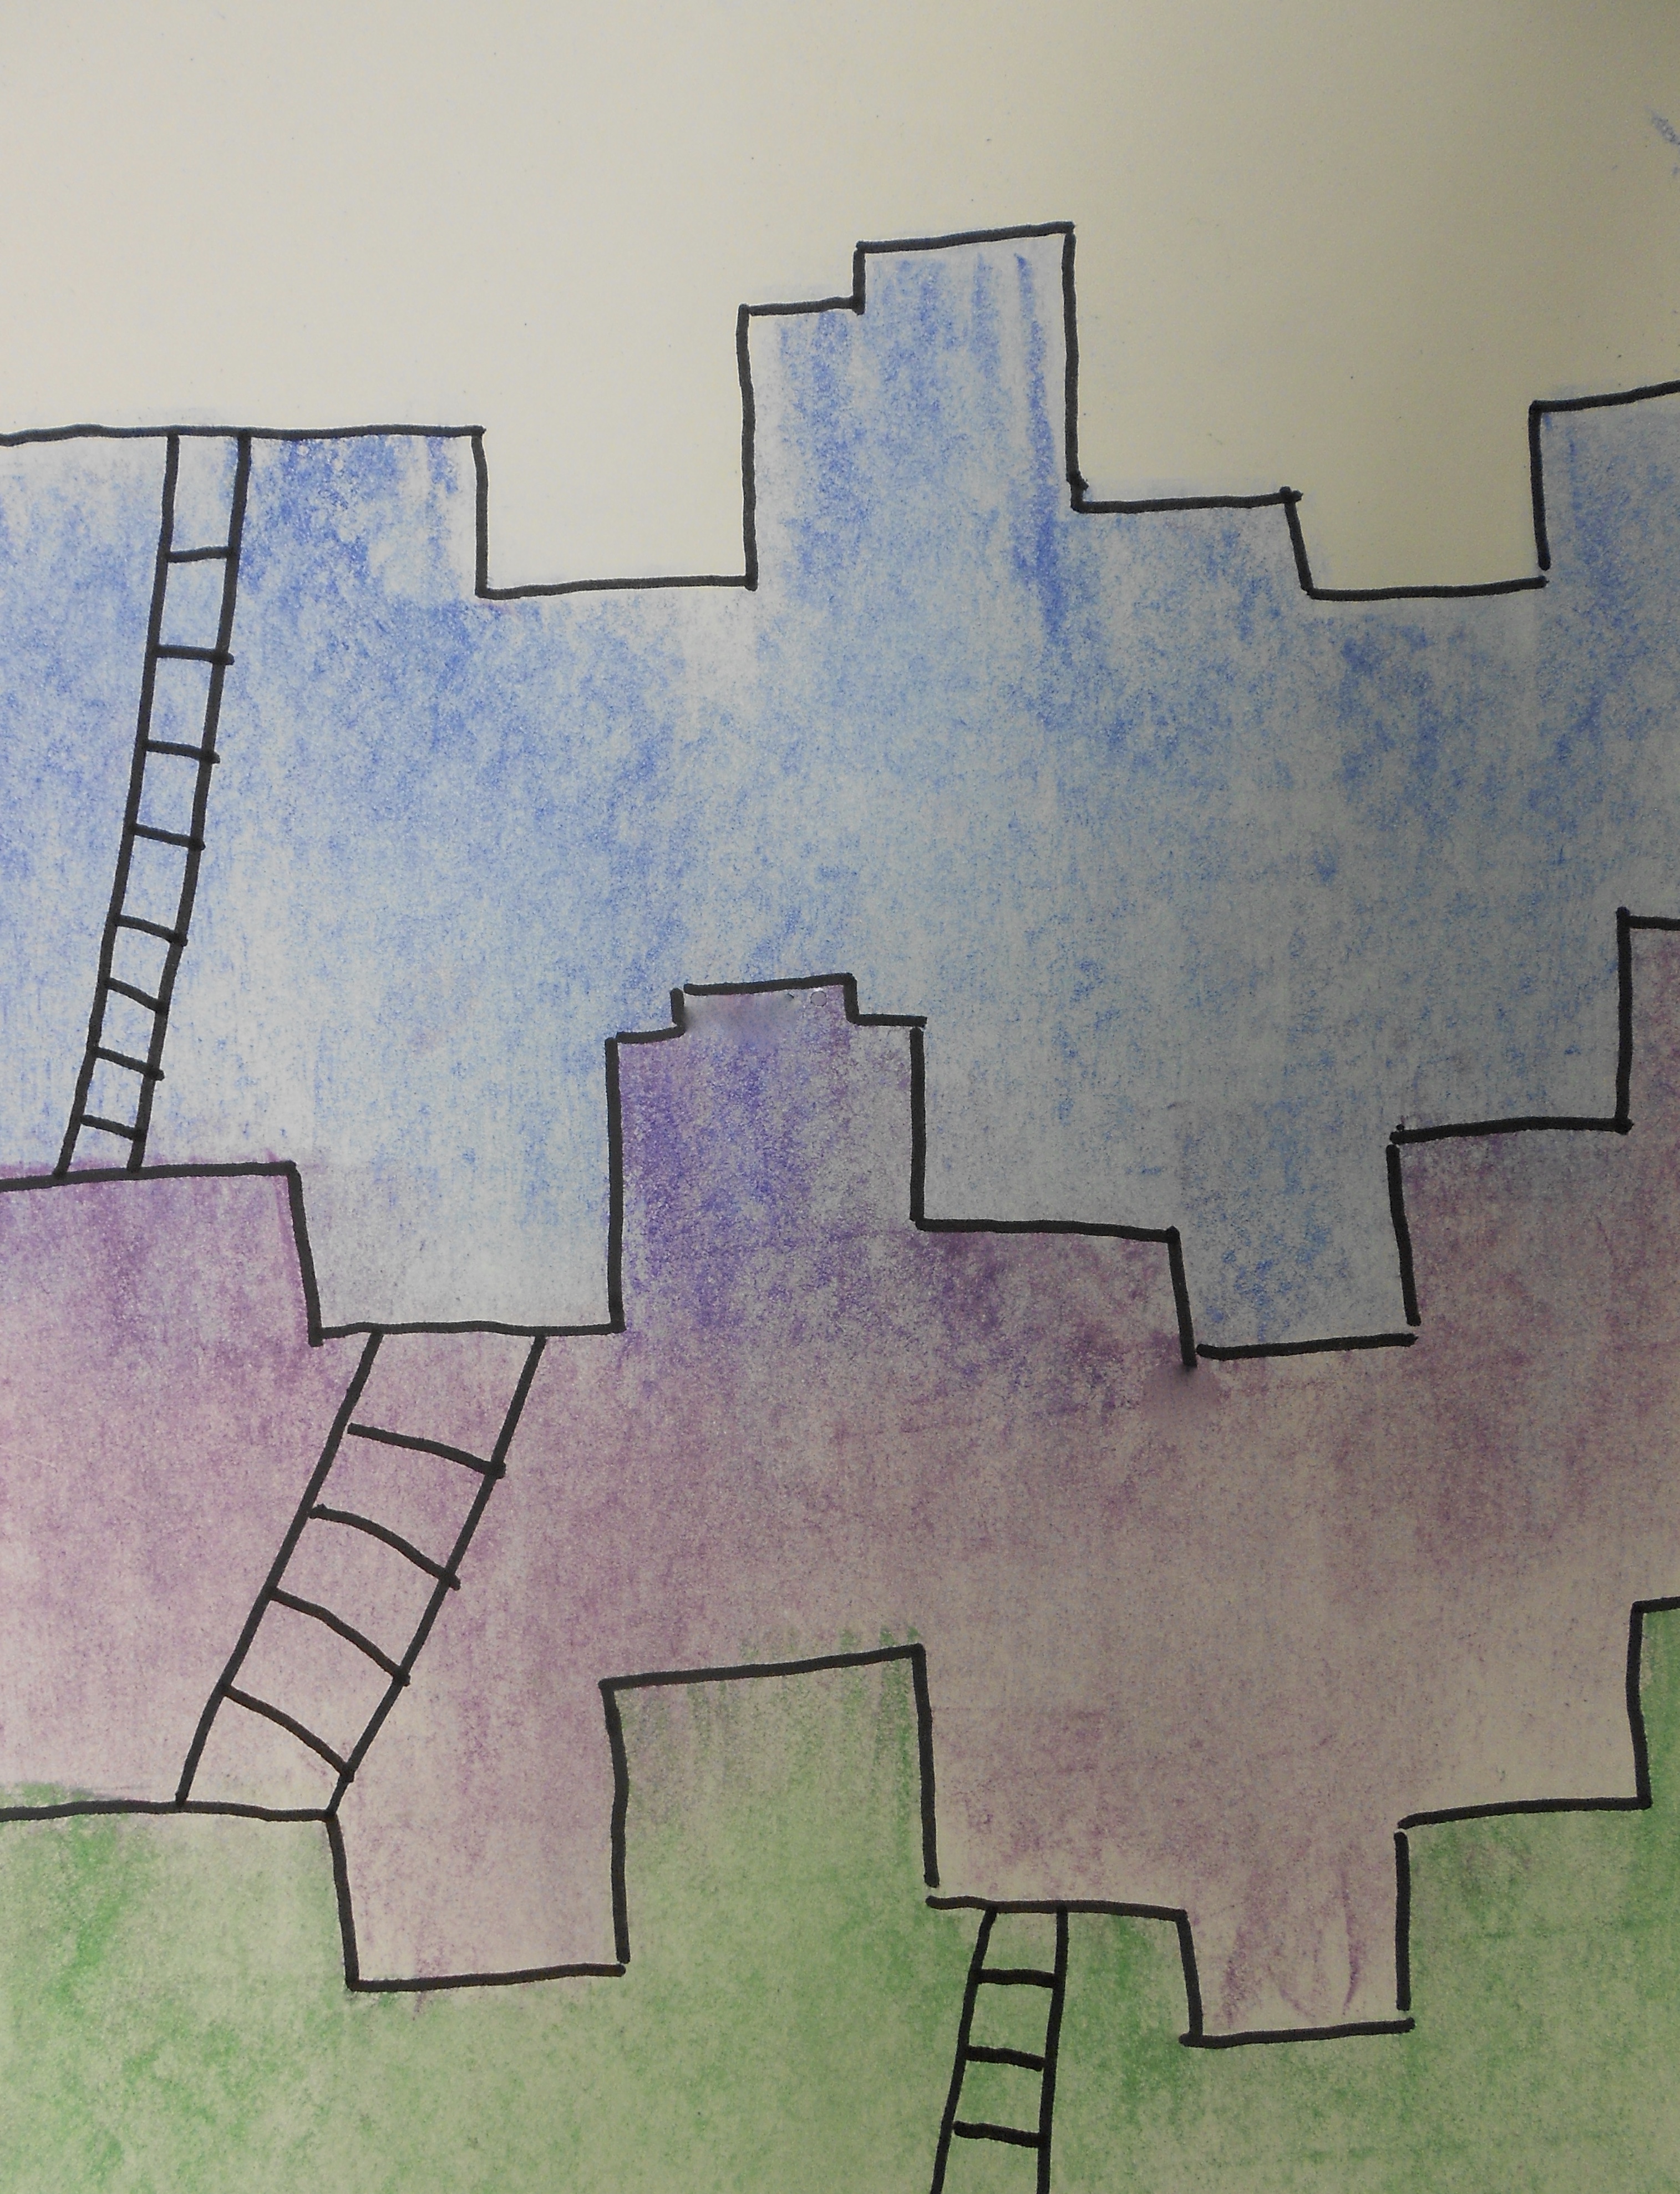
9. 3 ladders connecting levels - one on each level
|
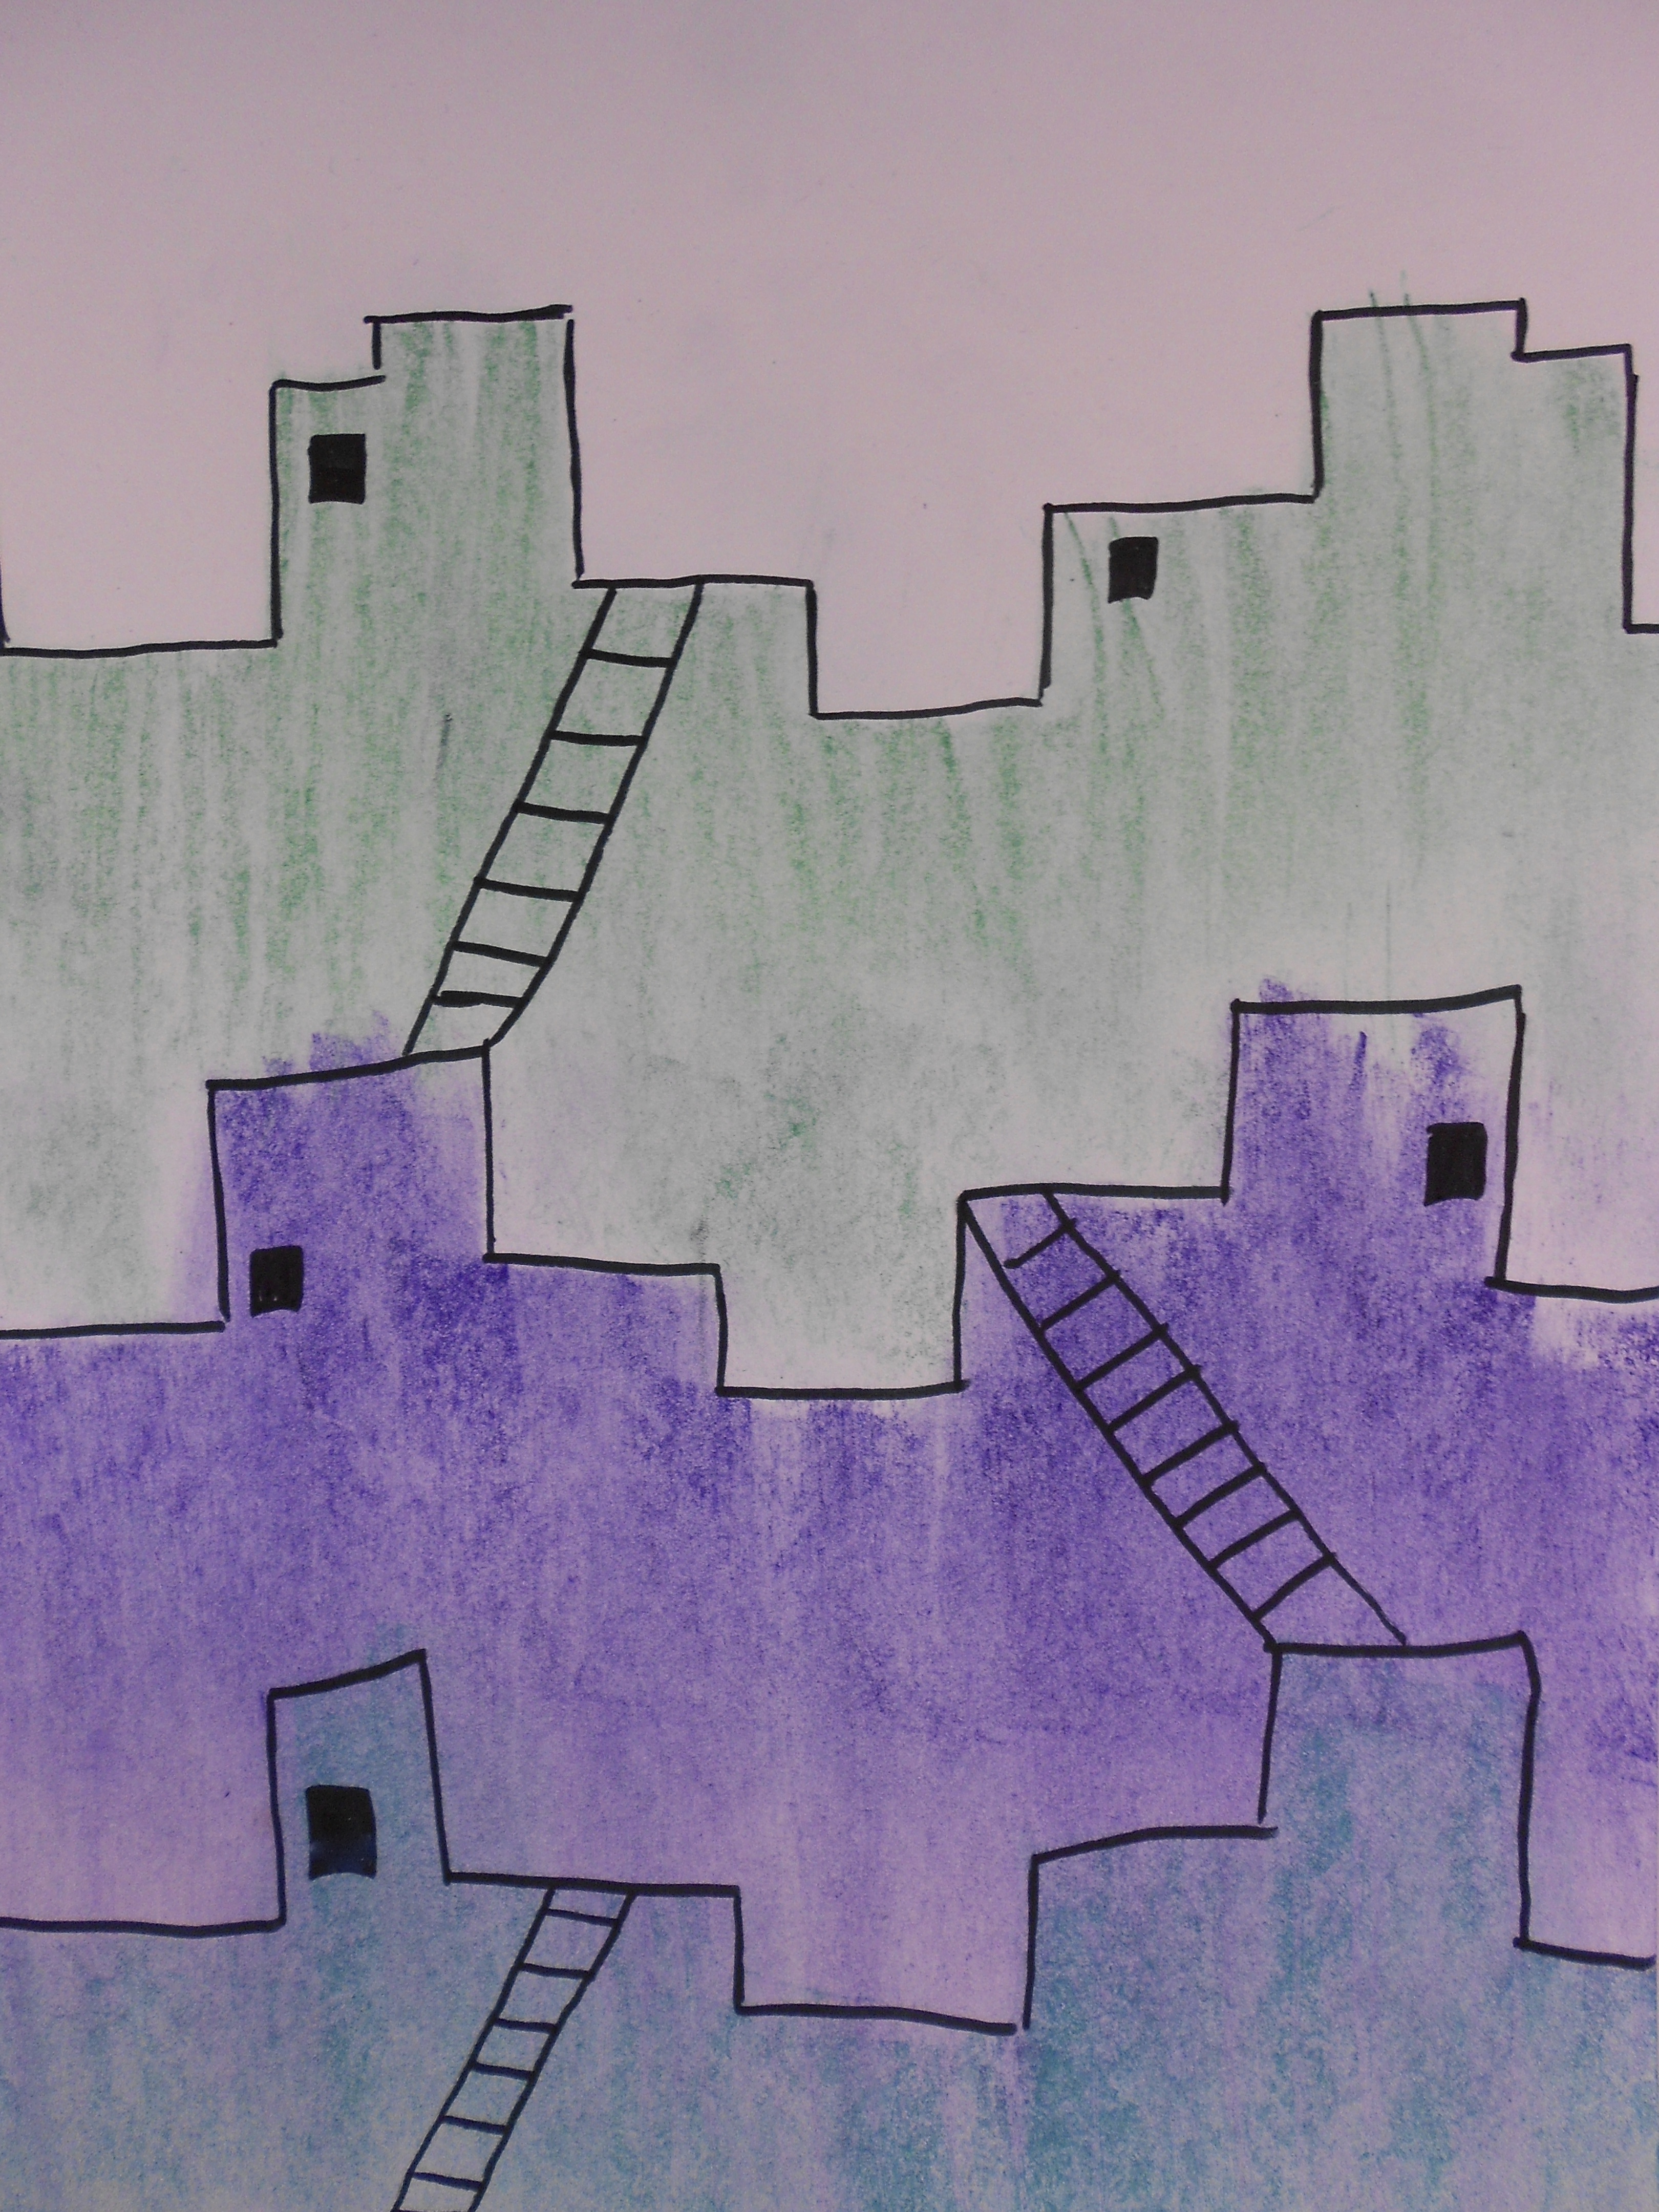
10. add a few black rectangular doors - near top edge on each level
|
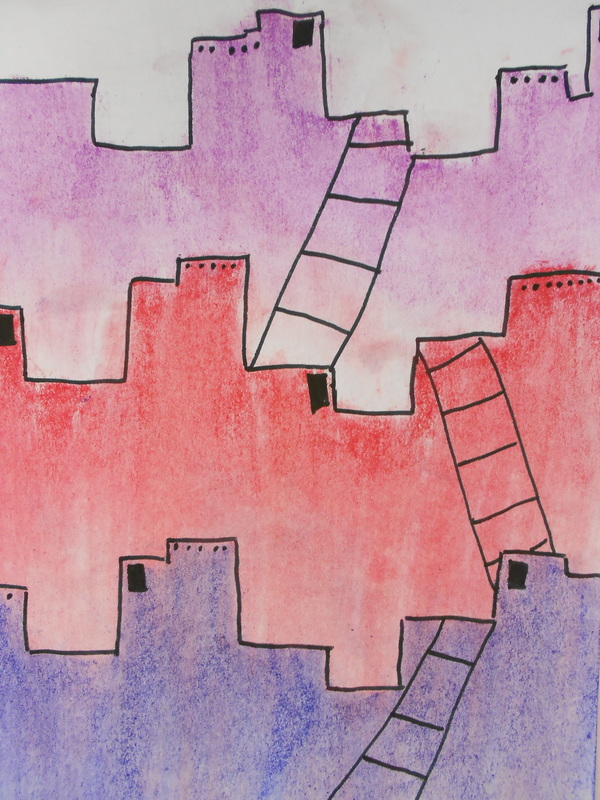
11. add black circles in groups of approx. 4 for ceiling rafters
|
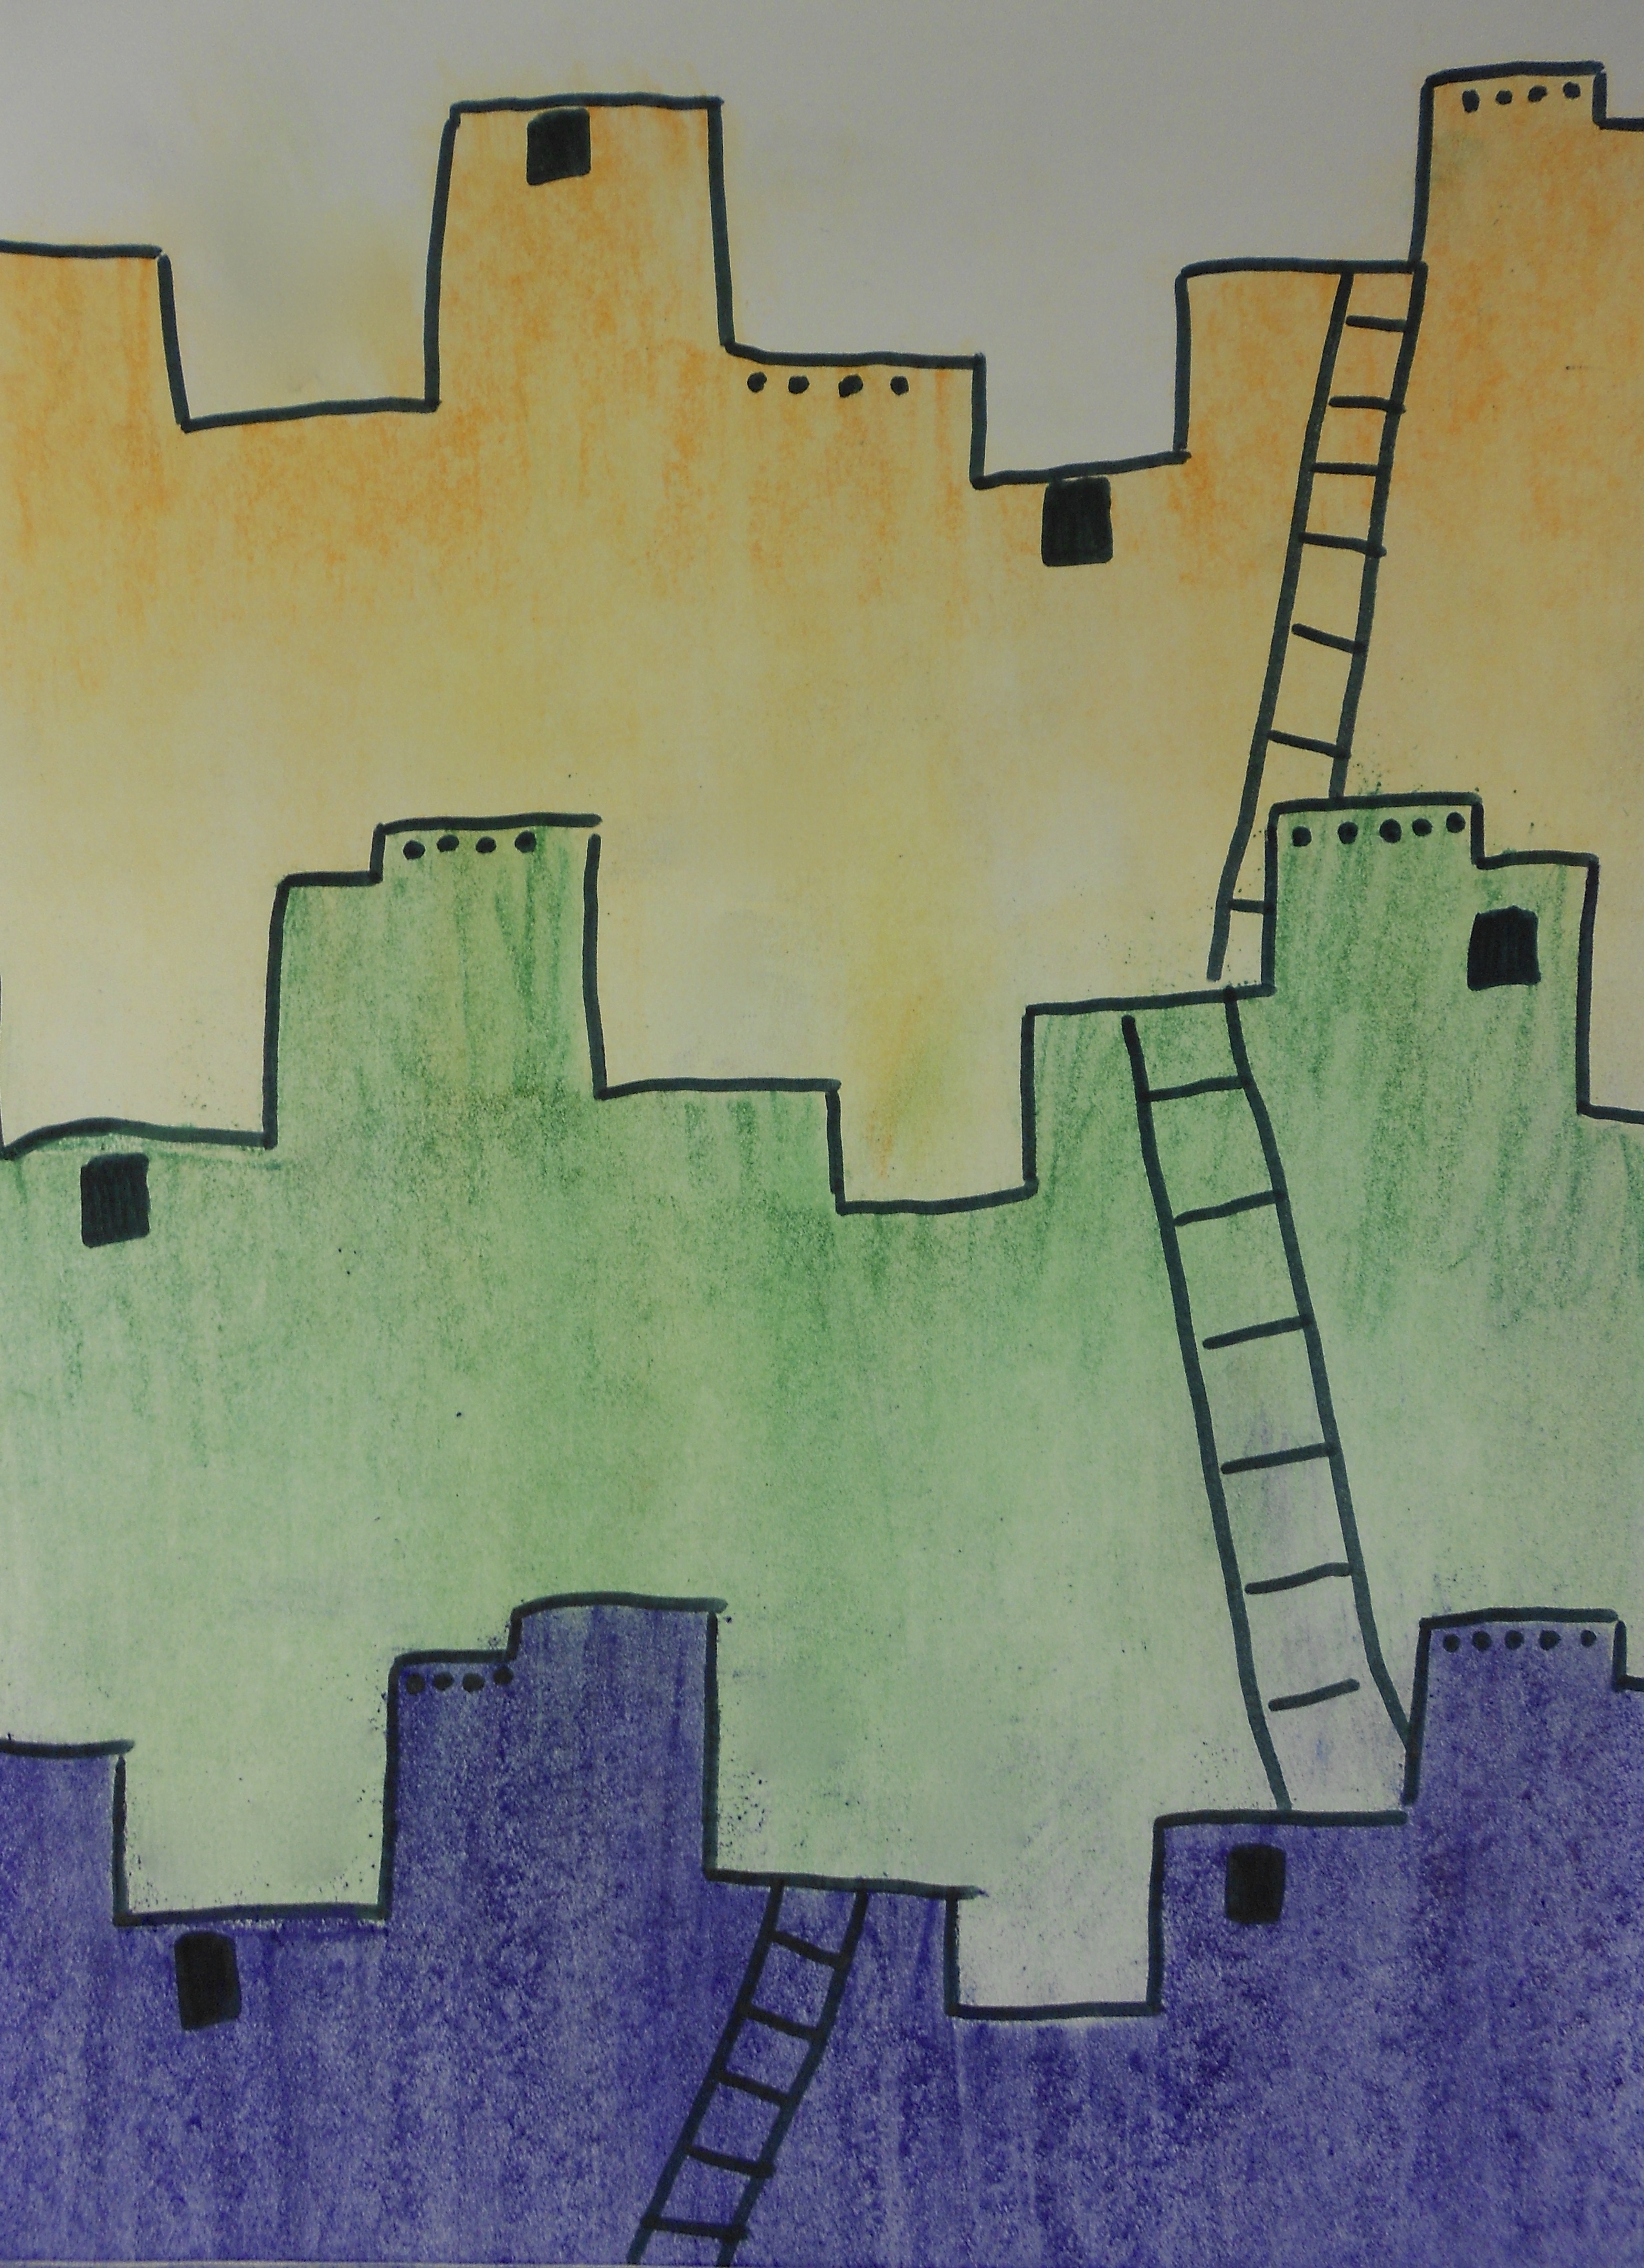
12. completed art piece
|
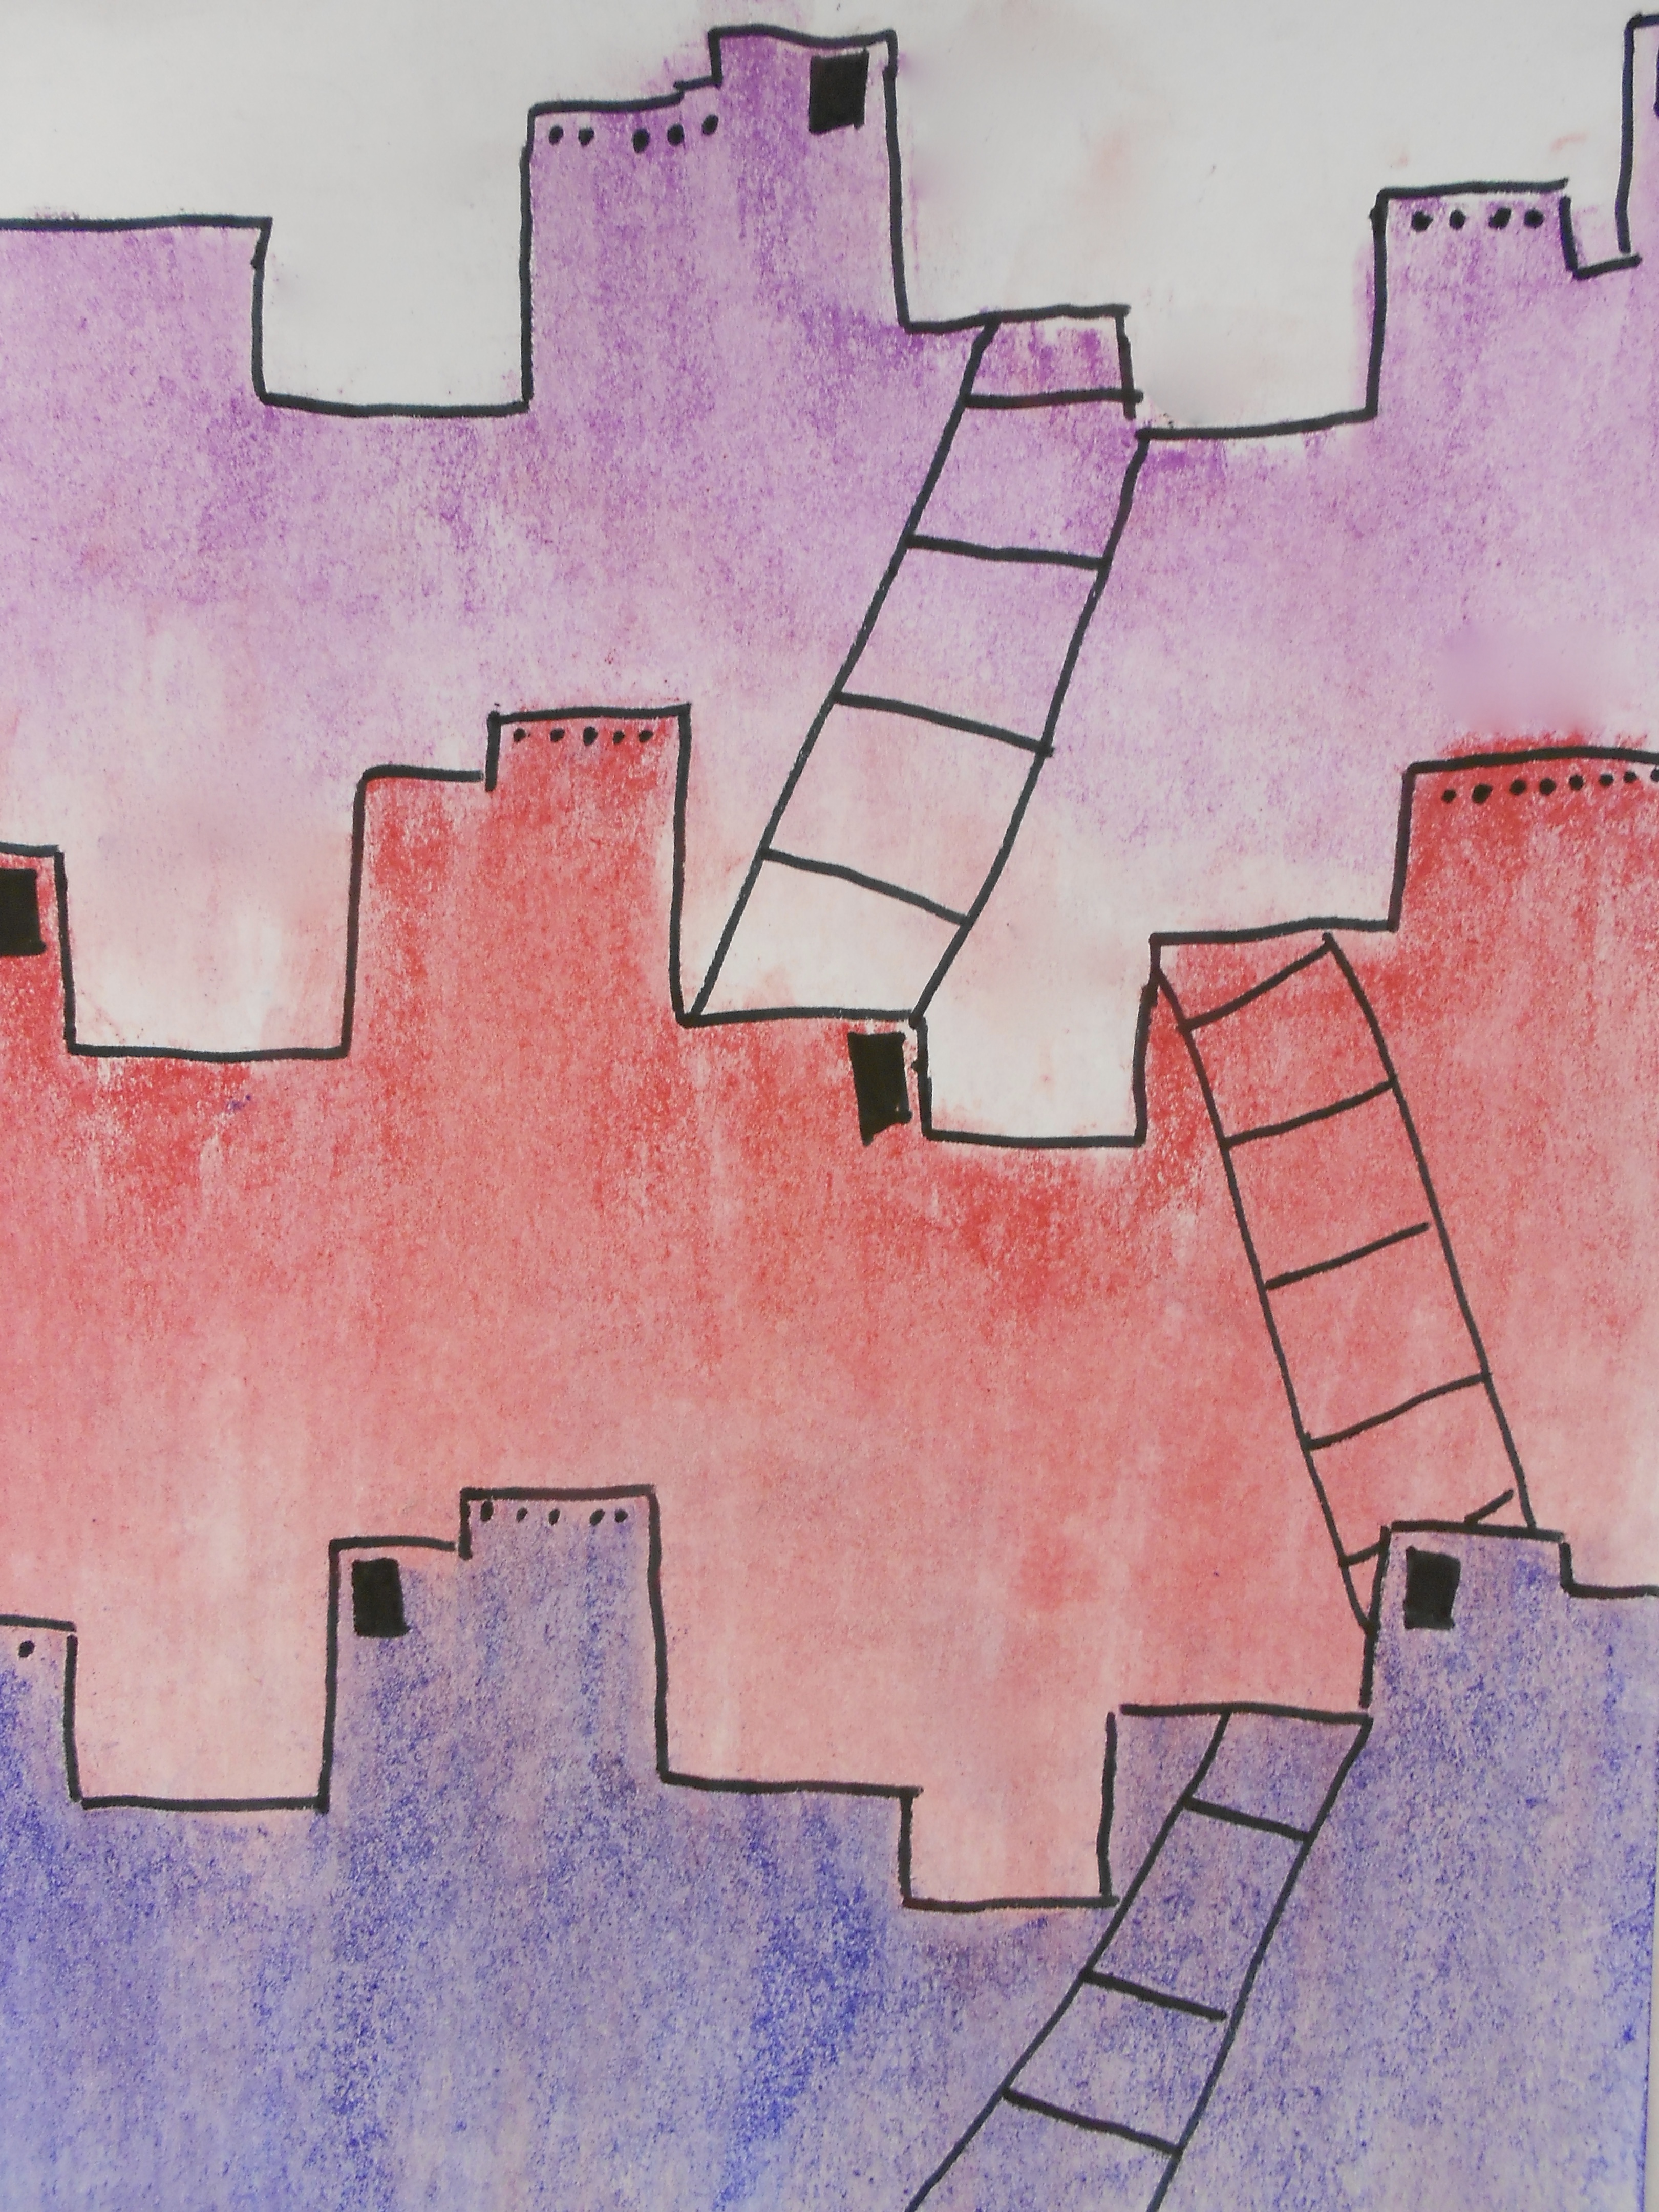
13. completed art piece
|
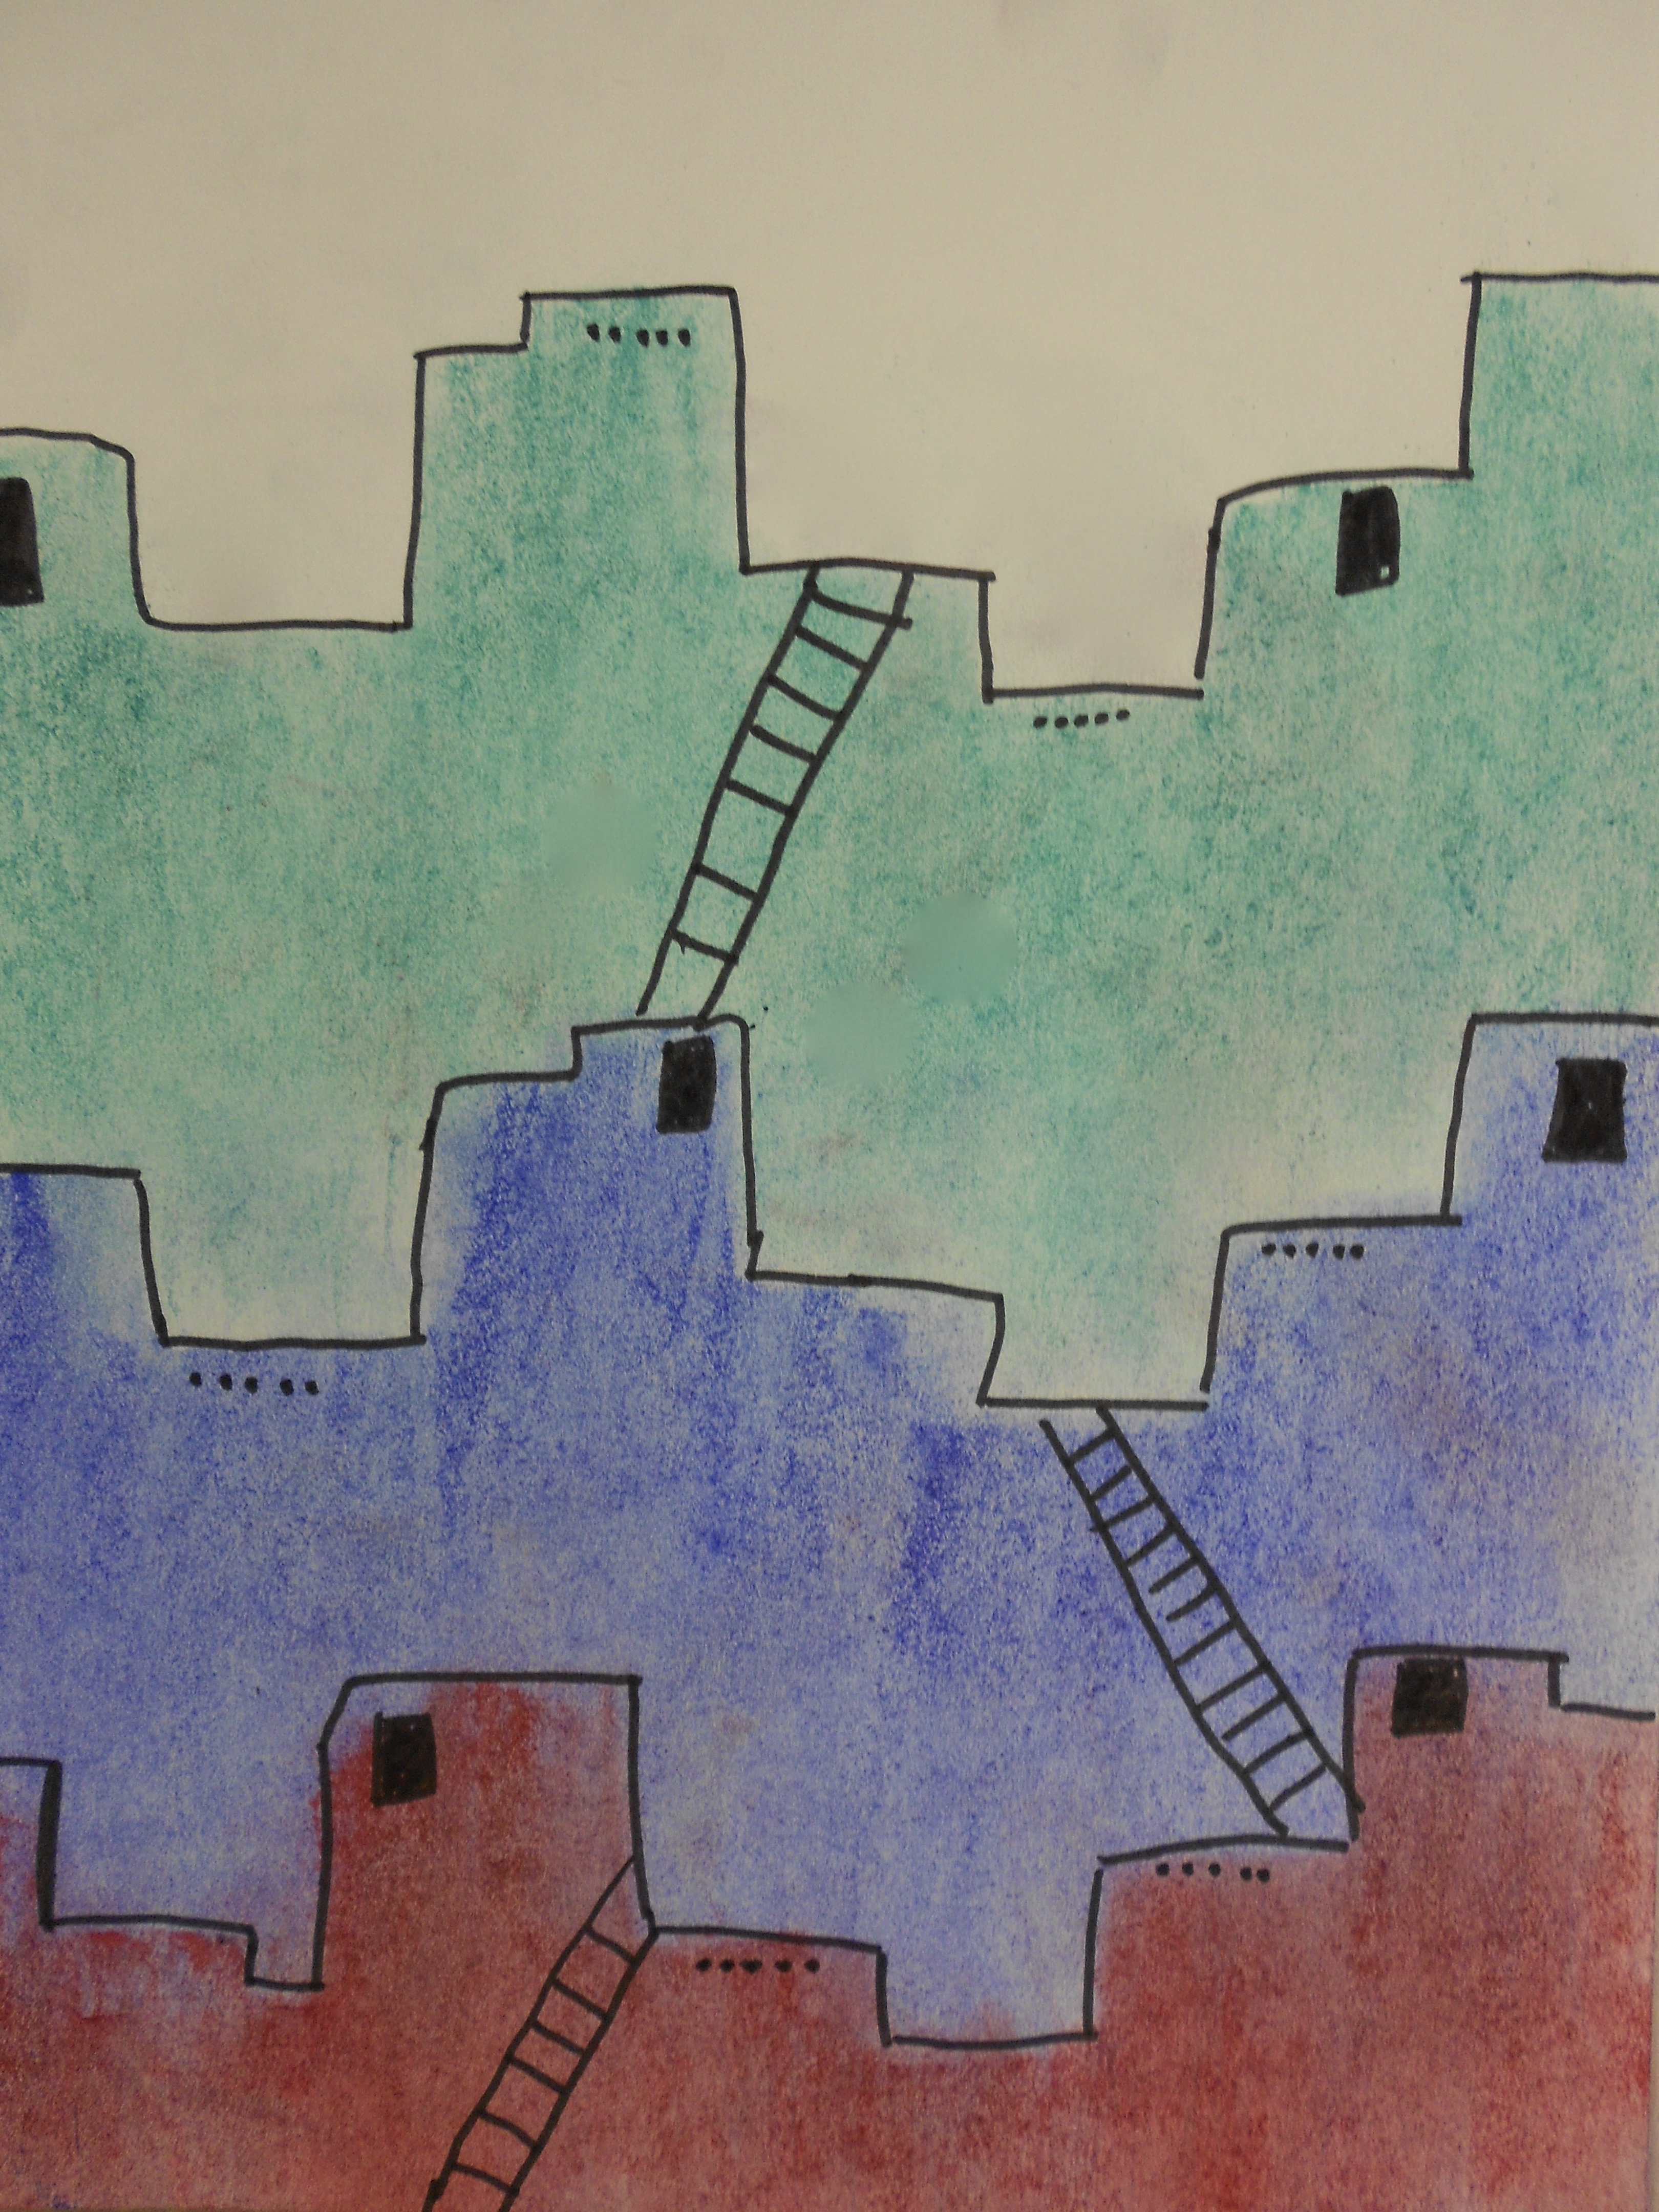
14. completed art piece
|
lesson plan
objective
Students will be familiar with Native American Adobe houses. They will know the rectangular shapes, ladders, small window, + roof rafters extended out past wall. Students will have experience working with chalk pastels, templates, + tissue for manipulating medium.
activity
1. Have templates copied on stiff paper, which is thicker than
construction paper. Paper color may vary.
2. Students will carefully cut templates. Each cut makes 2 templates, for
2 students.
3. Students choose 3 colors to work with.
4. Students must hold templates down firmly. If they come out of place,
reposition before applying color or rubbing with tissue.
5. 1st color can be the lightest.
6. Last color should be the darkest.
7. Important: students only apply color or rub with tissue in a
downward motion.
8. Important: students always have template in place for applying
color + rubbing with tissue.
9. Students should try to keep top area of artwork clean.
10. Markers sometimes get clogged from chalk dust. Markers can be
rubbed off with tissue.
11. Keep rectangula window shapes to a minimum. This is for the
safety whe inside buildings to shield them from attacks.
12. 4 or 5 small circles, colored with black to be drawn near top of a few
buildings. This represents to extended roof rafters, which are
visible from exterior.
13. Ladders are drawn connecting a lower level to the level above.
materials
- 9"x12" white construction paper
- thin black marker
- tissues
- colored chalk /chalk pastels
- scissors
- templates copied on stiffer/thicker paper than construction paper
- thin black marker
- tissues
- colored chalk /chalk pastels
- scissors
- templates copied on stiffer/thicker paper than construction paper
variation
1. Have students study pueblo shapes + cut their own templates.
2. Have a related writing exercise copied onto a clear acetone-type paper
+ place it over the chalk artwork. Black lettering can be easily
understood, while allowing artwork to show.
2. Have a related writing exercise copied onto a clear acetone-type paper
+ place it over the chalk artwork. Black lettering can be easily
understood, while allowing artwork to show.
ca state visual arts standards
1.0 ARTISTIC PERCEPTION
Analize Art Elements and Principles of Design
1.5 Identify and describe elements of art in works of art, emphasizing ine, color, shape/form, texture, space, and value.
3.0 HISTORICAL AND CULTURAL CONTEXT
Role and Development of the Visual Arts
3.1 Compare and describe various works of art that have similar theme and were created at different time periods.
3.3 Distinguish and describe representational, abstract, and nonrepresentational works of art.
5.0 CONNECTIONS, RELATIONSHIPS, APPLICATIONS
Careers and Career-Related Skills
5.4 Describe how artist(e.g. architecrs, book illustrators, muralists, industrial designers) have affected people's lives.
Thank you to my very creative, fellow teacher for giving this project idea to me + allowing me to share itwith students.